Hugo is a static site generator written in GO that is gaining a bit of a following around the web. I had originally intended to use the more familiar Jekyll SSG but after a quick chat with Steven Murwaski he pointed me to Hugo and I took a closer look
Step 1. Source Control all the things
I had already started down this path with Jekyll so I already had a local and remote repo configured, I went ahead and created a new branch to give Hugo a go
git branch hugo
git checkout hugo
Alternatively, if this is a new project go ahead and create a project directory, and initialize git
mkdir justdeclareit
cd justdeclareit
git init
Step 2. Make sure you have Hugo
In true automated fashion I deployed most of this via the cli, and the first step was to grab the hugo bits
choco install hugo -y
Step 3. Run hugo
With Hugo installed locally i could go ahead and create a new project, I first emptied out all of the jekyll files from my new branch and initiated a hugo project
hugo new site .
which deploys a new hugo site to the current directory, now you will likely get an error here as the directory was not empty (.git stuff counts) so go ahead and re-run the command with the force switch if you hit that error
hugo new site justdeclareit . --force
you should be greeted with something nice like below
Congratulations! Your new Hugo site is created in C:\Data\code\Repos\pheo\justdeclareit.

Just a few more steps and you're ready to go:

1. Download a theme into the same-named folder.
   Choose a theme from https://themes.gohugo.io/, or
   create your own with the "hugo new theme <THEMENAME>" command.
2. Perhaps you want to add some content. You can add single files
   with "hugo new <SECTIONNAME>\<FILENAME>.<FORMAT>".
3. Start the built-in live server via "hugo server".

Visit https://gohugo.io/ for quickstart guide and full documentation.
I mean, that’s ALMOST it, a few commands and bam! new site! well, almost. Hugo points out a few things we need to do next
Step 4. Render Content
We do need a theme, which dictates to hugo how to render our pages, you will likely get a blank experience without one, and there are plenty to choose from on the Hugo Themes site
I used beautifulhugo which is a nice minimalist theme, be sure to adjust the below values based on your theme name.
You’ll need to make sure your config.toml file has an entry for the theme. e.g
theme = "beautifulhugo"
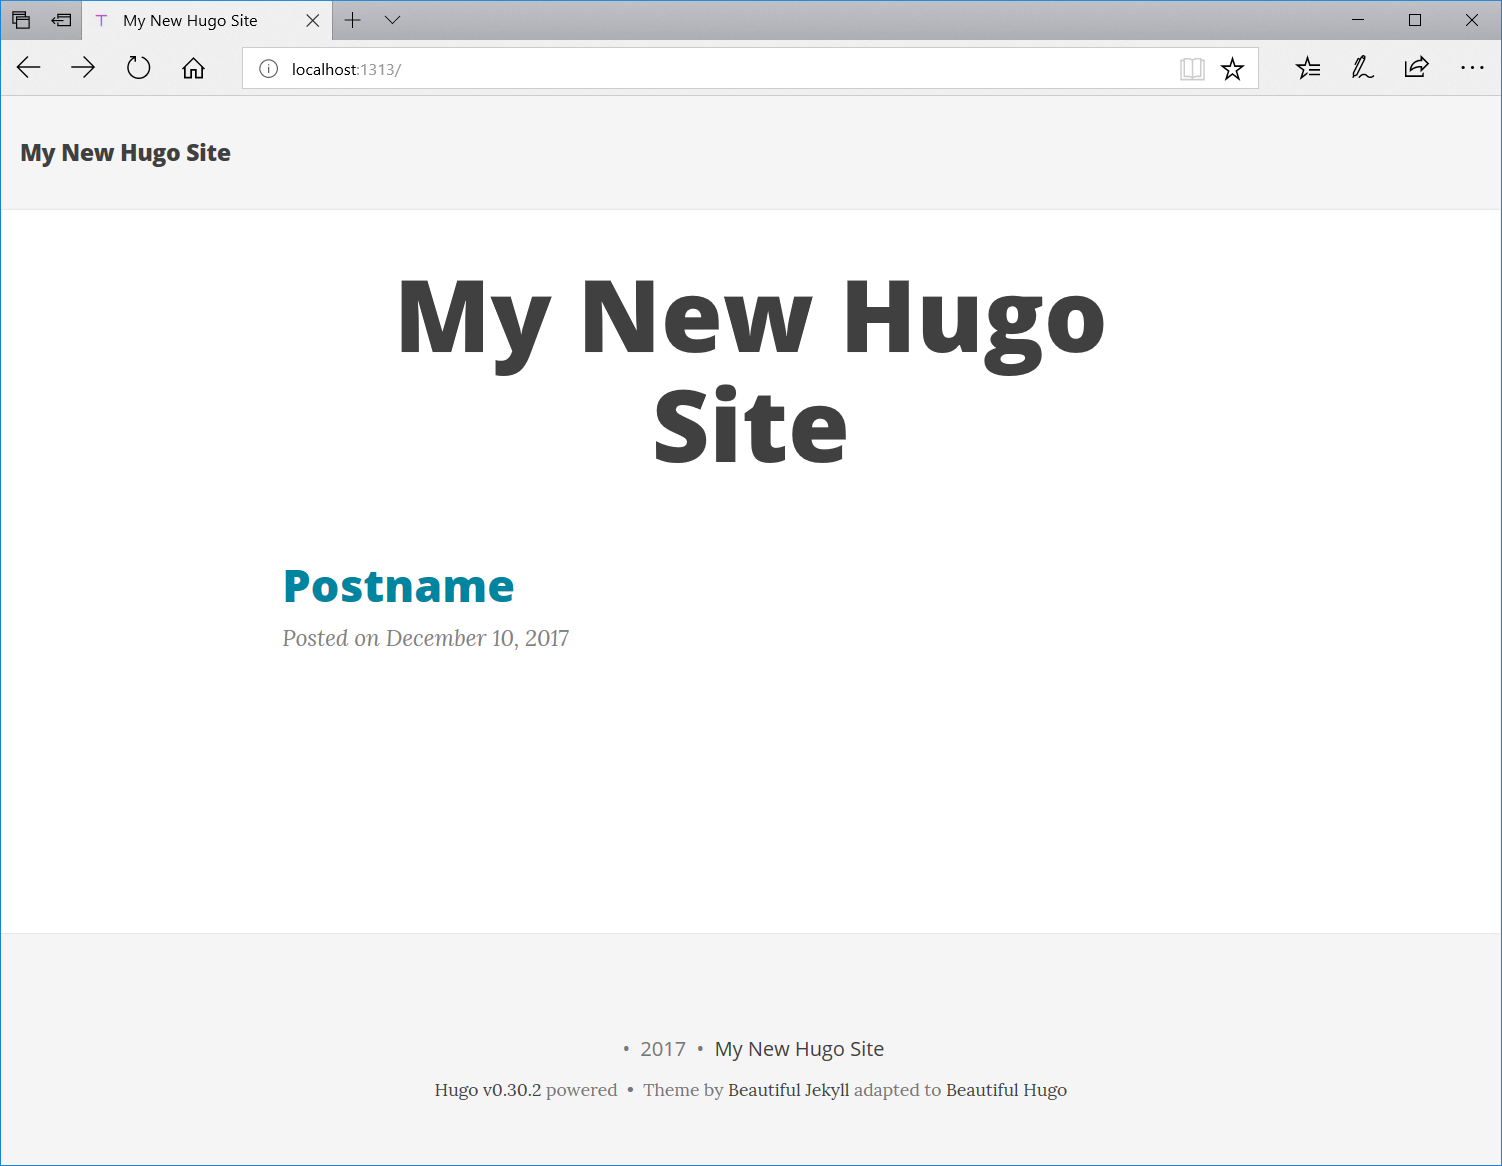
you will likely have a default content type for a post, and while you don’t need to use this process to create content, having hugo scaffold the new content allows it to inject metadata at the top of the file for later use.
hugo new post/postname.md
Hugo assumes a path under /content, so the full path of this new article would be /content/post/postname.md
It will also be configured as a draft by default, this is important for our next step. Go ahead and open up your new post and throw some content in for test purposes
Step 5.
Lets go ahead and fire up the hugo server locally and see how things look. Run this from the root of your project so that hugo can find your config.toml file, otherwise you will need to pass it in
hugo server -D
the -D builds drafts, which we want as we only have one article, which is by default a draft
Go ahead and point your browser at http://localhost:1313 and if everything went to plan, you should see your test post listed!
How-To DevOps Hugo Series
This is part of a series I am putting together on how to use a static site generator such as Hugo, as well as automated processes and CI/CD to build a blog the DevOps way.
Keep an eye out for further posts.